This guide will help students assemble a survival backpack equipped with essential supplies for emergencies. It covers selecting items, organizing the pack, and preparing for various situations. Ideal for students wanting to be prepared without overwhelming complexity, this task takes approximately 2-3 hours.
Difficulty: Intermediate | Time: 2-3 hours
What You’ll Need
Tools & Materials:
- Backpack (preferably water-resistant)
- Pen and paper for checklist
- Scissors or utility knife
- Duct tape or repair tape
Knowledge:
- Basic understanding of emergency supplies
- Ability to organize and pack efficiently
Gather all items before starting. Ensure the backpack is large enough to hold your supplies comfortably but not so big it’s unwieldy. Consider local climate and potential emergencies in your area.
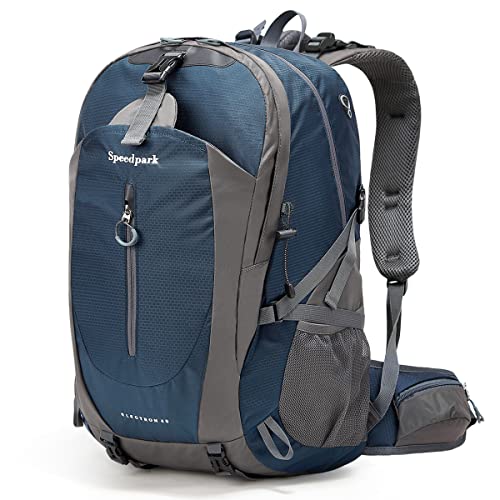
SPEEDPARK 40L Hiking Backpack, Lightweight Camping Daypack with Rain Cover
- Large Capacity: 40L storage with multiple compartments
- Durable Material: Tear and waterproof polyester fabric
- Reinforced Stitching: Stress points reinforced for longevity
As an affiliate, we earn on qualifying purchases.
As an affiliate, we earn on qualifying purchases.
Before You Start
Review your local emergency risks, such as storms, earthquakes, or school-specific incidents. Make sure your backpack is in good condition and has adjustable straps for comfortable carrying. Keep in mind that the goal is to balance preparedness with portability.

Mini First Aid Kit – 150 Piece Small Waterproof Hard Shell Medical Kit
- Complete Emergency Supplies: Over 150 professional-grade medical items
- Lightweight & Compact: Measures 6.4 x 4.9 x 2.7 inches, 0.73 lbs
- Travel-Friendly Design: Includes zippers and carabiners for convenience
As an affiliate, we earn on qualifying purchases.
As an affiliate, we earn on qualifying purchases.
Step-by-Step Instructions
Step 1: Choose an appropriate backpack
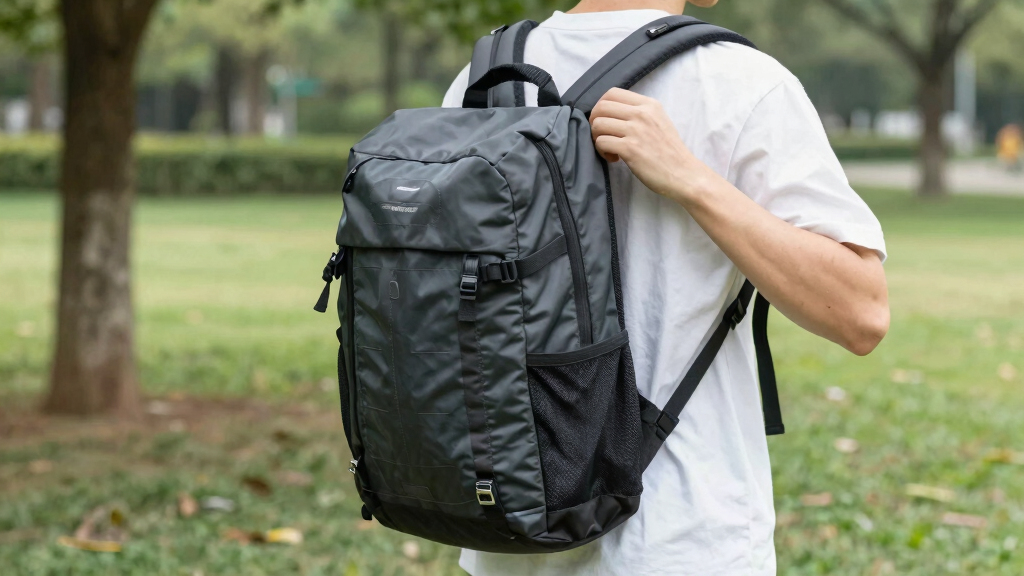
Select a sturdy, water-resistant backpack with multiple compartments to organize supplies. Ensure it has padded straps and a waist belt for comfortable carrying over long distances.
Tip:
A backpack with reflective strips increases visibility in low light. Test the weight by filling it with similar items to ensure comfort.
Check:
The backpack should sit comfortably on your shoulders without causing strain, and you should be able to access compartments easily.
Step 2: Gather essential survival supplies
Collect items such as water, non-perishable food, first aid kit, flashlight, batteries, multi-tool, hygiene supplies, and a whistle. Refer to a recommended checklist for completeness.
Tip:
Prioritize lightweight, compact items. Avoid overloading to keep the pack manageable.
Check:
You will have all supplies organized and ready to pack, with no critical items missing.
Step 3: Pack water and food supplies
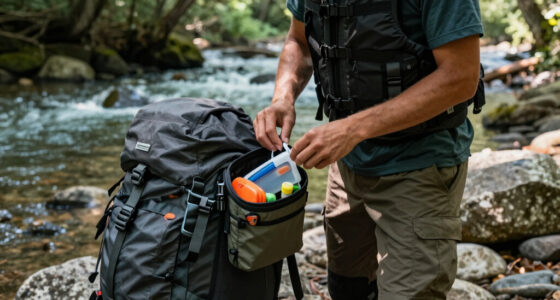
Place a durable water bottle or hydration bladder in the main compartment. Add high-calorie, non-perishable snacks or meal replacements in accessible pockets.
Tip:
Use leak-proof containers to prevent spills. Store water in the side or front pockets for easy access.
Check:
Water and food are securely stored, easily reachable, and do not cause the pack to become unbalanced.
Step 4: Include a basic first aid kit
Pack a compact first aid kit with bandages, antiseptic wipes, pain relievers, allergy medication, and any personal prescriptions.
Tip:
Ensure supplies are within their expiration date and organized for quick access.
Check:
First aid supplies are accessible and complete enough to handle minor injuries.
Step 5: Add essential tools and safety items
Place a flashlight with extra batteries, a whistle, a multi-tool, and a small mirror in side pockets or compartments.
Tip:
Test the flashlight and multi-tool before packing to ensure functionality.
Check:
Tools are operational, easily accessible, and securely stored.
Step 6: Include hygiene and personal care items
Pack hand sanitizer, moist towelettes, tissue, and a small towel in a dedicated pouch or compartment.
Tip:
Use travel-sized containers to save space.
Check:
Hygiene supplies are in place and organized for quick use when needed.
Step 7: Add weather protection and extra clothing
Include a compact rain poncho or waterproof jacket, and a spare set of clothes if space allows.
Tip:
Roll clothes tightly to save space and prevent wrinkles.
Check:
Weather protection gear is stored properly, and clothing fits comfortably in the pack.
Step 8: Organize and pack the backpack
Distribute items into compartments based on priority and frequency of access. Place frequently needed items near the top or in external pockets.
Tip:
Use small pouches or bags inside the backpack to separate categories of items for quick access.
Check:
All supplies are organized logically, and the pack closes securely without overstuffing.
Step 9: Conduct a test carry and review
Wear the backpack for a short walk, testing comfort and balance. Check if any items shift or cause discomfort.
Tip:
Adjust straps and redistribute weight if needed before finalizing.
Check:
The backpack feels comfortable, balanced, and all items remain secure during movement.

Telescoping Magnetic Pickup Tool Set, Inspection Mirror Telescoping, LED Flashlight, Cool Gadgets for Men, Stocking Stuffers, Gifts for Dad, Husband, Kids, Boyfriend, Magnet Stick (Camo)
- Powerful Magnet: Holds up to 5 lbs for retrieval
- Telescoping Handle: Extends up to 34.65 inches
- Durable Aluminum Construction: Shockproof and ergonomic grip
As an affiliate, we earn on qualifying purchases.
As an affiliate, we earn on qualifying purchases.
Common Mistakes to Avoid
- Overpacking the backpack, making it too heavy — Limit supplies to essentials and use lightweight, compact items. Keep total weight manageable for your strength.
- Missing critical items like water or first aid supplies — Use a checklist during packing and double-check all categories before completing.
- Not organizing items for quick access — Place frequently needed items in external pockets or top compartments for easy reach.
- Choosing an uncomfortable or inappropriate backpack — Test the fit and comfort before packing, ensuring straps and support features are suitable.
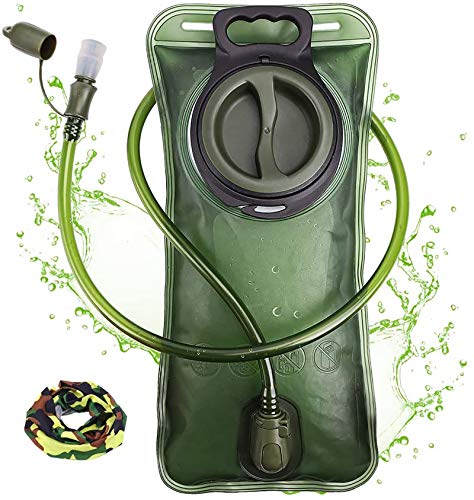
Hydration Bladder, 2L Water Bladder for Hiking Backpack, BPA-Free Leak Proof Water Reservoir Storage Bag, Hydration Pack Replacement for Camping Cycling Running, Military Green
- Large Opening for Easy Cleaning: Wide opening for easy pouring and cleaning
- BPA-Free and Leak Proof: Made from premium, taste-free materials
- Durable and Pressure-Tolerant: Withstands pneumatic pressure and rough use
As an affiliate, we earn on qualifying purchases.
As an affiliate, we earn on qualifying purchases.
Troubleshooting
Problem: Backpack feels too heavy or causes discomfort
Solution: Adjust straps for proper fit, redistribute weight evenly, and remove non-essential items.
Problem: Items shift during movement
Solution: Secure loose items in pouches or compartments, and pack heavier items close to your back.
Problem: Water leaks or supplies get damaged
Solution: Use waterproof containers, seal bags properly, and avoid overfilling pockets.
Problem: Items are difficult to find quickly
Solution: Organize supplies by categories, use labeled pouches, and keep frequently used items on top.
What Success Looks Like
The backpack is fully packed with all essential supplies, organized for easy access, fits comfortably, and can be carried without discomfort. During a test walk, the pack remains stable, and all items are secure.
Next Steps
Regularly review and update your supplies every 6-12 months. Practice using your survival backpack in a safe environment to familiarize yourself with access and weight. Keep it in a visible, accessible location near your home and school. Consider adding items based on seasonal changes or evolving needs.
Frequently Asked Questions
How often should I update my survival supplies?
Check your supplies every 6 to 12 months, replacing expired items and adding new necessities as needed.
What if I don’t have enough space in my backpack?
Prioritize essential items and consider a larger or additional pack if necessary. Use compact, multi-use items to save space.
Can I include personal items like medications?
Yes, include any personal medications or items you may need in an emergency, ensuring they are easily accessible and within expiration dates.
How do I know which supplies are most important?
Identify supplies based on your local risks and personal needs, focusing on hydration, nutrition, first aid, and safety tools first.