TL;DR

Get emergency and outdoor gear delivered free with Prime
- Fast, free delivery on millions of items
- Prime Video, Amazon Music and more included
- Member-only deals all year
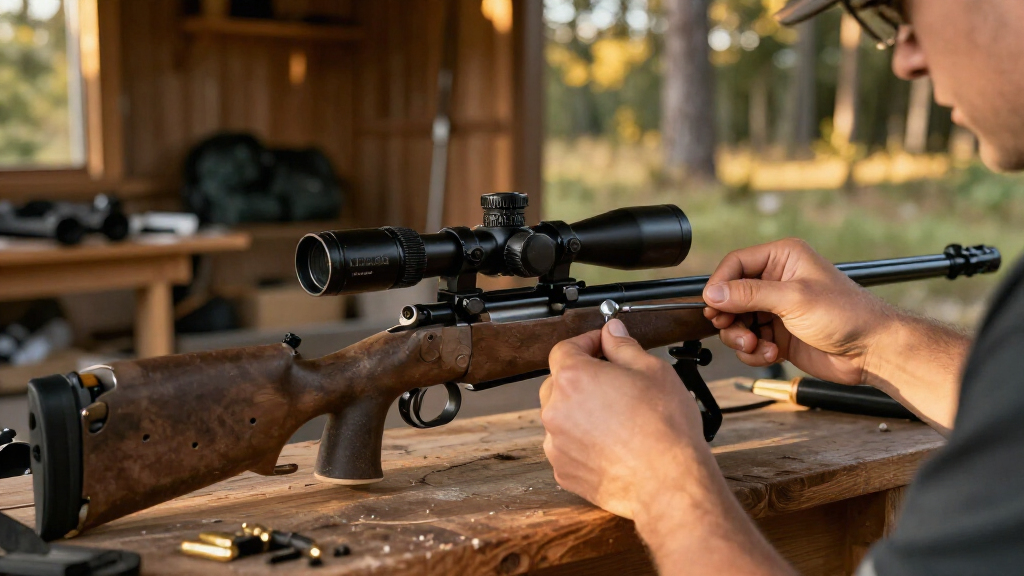
A Gear Optics guide published Nov. 3, 2026, lays out a step-by-step method for mounting a precision riflescope. It emphasizes leveling the rifle and reticle, checking clearance and eye relief, and tightening ring and base fasteners with a torque wrench using the maker’s specifications where available.
Gear Optics published a riflescope-mounting guide on Nov. 3, 2026, outlining how to align a scope, set its position and tighten its fasteners. The instructions are part one of a planned seven-part series on precision riflescopes and shooting, and focus on reducing installation errors that can affect fit and alignment.
The guide says a proper installation depends on four conditions: the reticle is level with the rifle, the scope sits at a suitable height above the bore, eye relief is correct, and ring and base fasteners are tightened appropriately. It recommends securing the rifle in a padded vise or stable cradle, then leveling the action before placing the scope in its rings.
With the scope held loosely enough to move, the reticle can be leveled using a bubble level on a flat area of the scope’s elevation turret, if available. The guide also describes aligning the vertical crosshair to a plumb-bob string while looking through the scope and keeping the rifle level. Once aligned, the shooter checks eye relief from a prone position and makes adjustments before tightening the fasteners.
For tightening, the article advises following the scope-ring or rifle manufacturer’s torque specifications when provided. It gives approximate rules of thumb of about 20 inch-pounds for ring screws and about 30 inch-pounds for rail or base screws, while noting that base fasteners are generally larger. It recommends using a torque wrench and tightening screws gradually in an alternating pattern to apply even pressure.
Mount a riflescope with care
Gear Optics’ guide walks through alignment, fit and fastener tightening. A careful setup helps avoid installation problems, but does not guarantee accuracy or safe operation.
Four setup checks
Fit and alignment affect a clear sight picture and consistent positioning.
Level the reticle
Level the rifle, then align the reticle while the scope remains movable in its rings.
Check clearance
Leave room between the objective bell and barrel; the right height depends on the rifle and stock.
Set eye relief
From a prone position, seek a clear view without shifting your head.
Use a torque wrench
Tighten gradually in an alternating pattern, following the equipment maker’s specifications.
Mounting sequence
Keep the rifle stable and confirm fit before fully tightening fasteners.
Use a padded vise or stable cradle and level the action.
Place it loosely in the rings and level the reticle with the rifle.
Check clearance and eye relief from a normal prone position.
Use the applicable manufacturer torque values and tighten evenly.
Rules of thumb have limits
The guide’s figures are approximate and do not fit every setup.
- About 20 inch-pounds for ring screws
- About 30 inch-pounds for rail or base screws
- A quarter- to half-inch clearance suggestion
- Use maker specifications when provided
- Fit varies with barrel profile and stock
- Verify compatibility for your setup
What the guide covers
Gear Optics published the first installment in a planned series on precision riflescopes and shooting.
Why Alignment and Fit Matter
Mounting affects whether a shooter can see a full, clear image through the scope and whether the reticle is aligned with the rifle. The article says poor scope height can create clearance problems or make it harder to position consistently behind the rifle. Incorrect eye relief can leave parts of the image blacked out unless the shooter shifts their head.
Fastener torque also matters: the guide warns against relying on feel alone and recommends a torque wrench. Its figures are presented as general rules of thumb, not substitutes for a manufacturer’s instructions. A careful installation helps avoid common setup problems, but the article does not claim that mounting alone guarantees accuracy or safe operation.
Popular right now

TCL 65-Inch QM6K QLED Mini-LED 4K HDR Smart Google TV, 144Hz

Sony BRAVIA XR8B 65-Inch 4K OLED Google TV (K-65XR8B)

TCL 65-Inch T7 Series 4K QLED Smart Google TV, 144Hz (65T7)
As an affiliate, we earn on qualifying purchases.
The Guide’s Four Setup Checks
The article appeared in Gear Optics’ series on using precision riflescopes and shooting to a rifle’s potential. Its stated focus is the installation process rather than scope selection or a comparison of products. It notes that rifles with Picatinny rails can offer flexibility when moving a scope forward or backward to set eye relief.
For scope height, the guide calls for enough room between the objective bell and the barrel, while also considering the shooter’s position and stock. It offers a quarter- to half-inch gap as a rule of thumb, but says the rifle’s barrel profile and stock may call for a different fit. An adjustable cheek piece can help compensate when a scope sits high.
To check eye relief, the instructions say to settle into a prone position, close the eyes, rest the cheek on the stock without straining the neck, then open the eyes. The desired result is a clear view through the center of the scope without having to reposition the head.
“The reticle needs to be level with the rifle.”
— Gear Optics
Where the Rules of Thumb End
The article does not give torque specifications for every scope, ring or rifle model. Its approximate figures are general guidance; the correct values for a particular setup remain dependent on the relevant manufacturers’ instructions. The article also does not specify one ideal ring height or eye-relief measurement for all rifles, since component dimensions and stock design vary.
It does not provide independent testing or quantify how often mounting errors occur. The practical recommendations are presented as guidance from the publication, not as a formal standard or a guarantee of performance. Readers should verify compatibility and instructions for their own equipment.
The Series’ Next Installments
Gear Optics describes this mounting article as the first installment in a seven-part series about precision riflescopes and shooting. The publication has not provided dates or subjects for the remaining installments in the material available here.
For anyone applying the steps, the immediate next move is to consult the specific scope, ring and rifle documentation, then check the installation in a stable setting. The guide’s sequence is to level, position, confirm eye relief and clearance, and tighten to the applicable specifications. It does not report a new product launch, test result or change in firearm regulations.
Key Questions
What are the main steps in the riflescope mounting guide?
Secure and level the rifle, loosely place the scope in its rings, level the reticle, check eye relief and clearance, then tighten fasteners to the appropriate torque specifications.
What torque does the article suggest for scope-ring screws?
It gives about 20 inch-pounds as a general rule of thumb for ring screws. The article advises following the equipment manufacturer’s stated value when one is available.
How can a shooter check eye relief?
The guide recommends getting into a normal prone position, closing the eyes, resting the cheek on the stock, then opening the eyes. The view should be clear without moving the head to find the image.
How much space should there be between the scope and barrel?
The article offers a quarter- to half-inch gap between the objective bell and barrel as a rule of thumb, while noting that the rifle’s profile and stock can affect the appropriate fit.
Are the suggested torque figures universal?
No. They are approximate guidance in the article, not universal specifications. Check the instructions for the particular scope, rings and rifle before tightening fasteners.
Source: outdoorlife.com